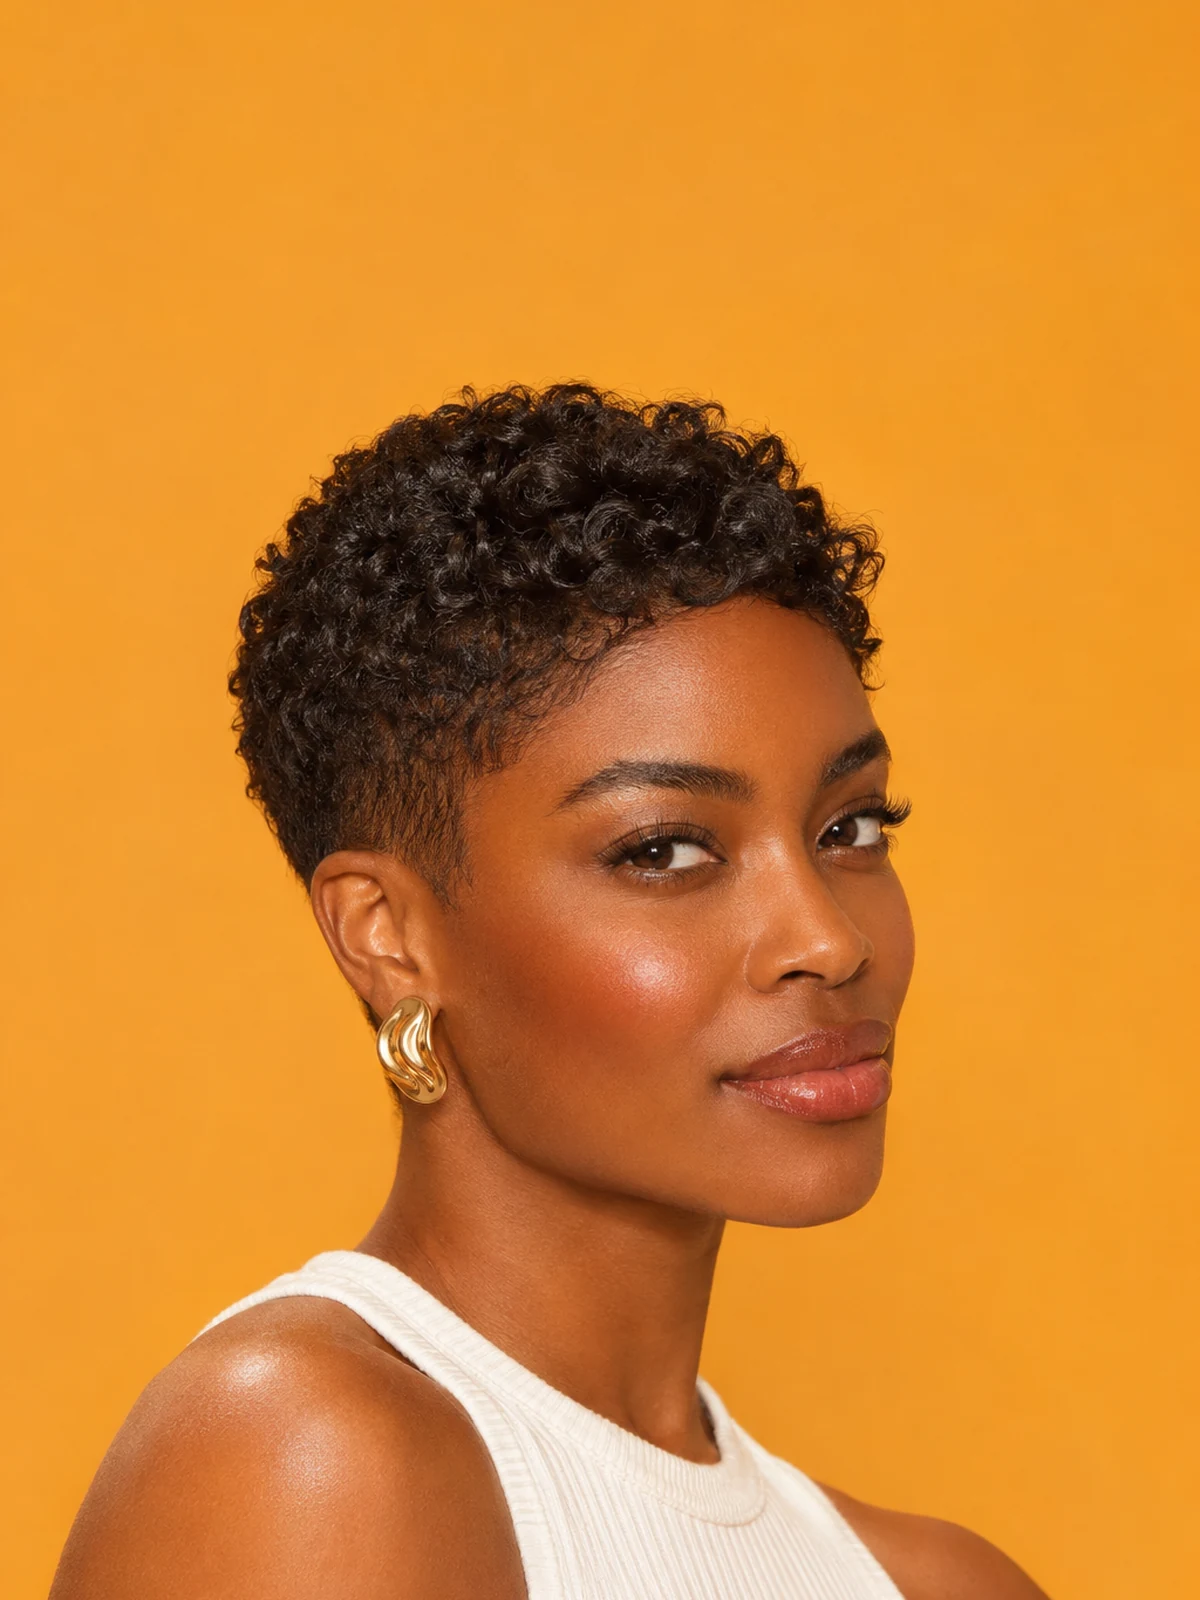
To style your hair short, dampen the roots, choose the direction of the shape and dry or air-dry it into place before adding a small amount of finishing product. Put lift where you want height and keep product lighter where you want softness. A pixie, crop and short layered cut need different outlines, so start with the silhouette rather than copying one tool routine.
This guide may contain affiliate links. As an Amazon Associate we earn from qualifying purchases. How our links work.
Pick a silhouette before choosing a product
Stand back from the mirror and decide where the volume belongs. You might want a lifted top with neat sides, a flat side part with a soft front or a rounded curly shape. These are more useful instructions than simply asking for texture. If the entire head gets fluffed equally, the outline can look wider even when you wanted height.
Check your cut from the side as well as the front. A longer crown may cover a flat spot, while a very short top may show your natural growth direction more clearly. Collect practical ideas from the beauty hub and choose one change to try. You do not need a drawer of products to learn what your haircut can do.
Reset short hair at the roots
Sleep dents and cowlicks often begin near the scalp. Wetting only the ends adds a temporary gloss without necessarily changing the direction. Dampen the problem area down to the roots using wet hands, then distribute the water gently. For a full reset, wash when your scalp needs it and remove excess water by pressing with a towel.
Avoid vigorous towel rubbing, which can leave short strands sticking in several directions before styling has begun. Detangle gently if the length needs it. The American Academy of Dermatology's hair-care advice distinguishes between straight hair, which can dry a little before combing, and thick curls, which can be detangled with conditioner in the shower.
Make a soft pixie look deliberate
For a pixie with a longer top, place your part or forward sweep while damp. Direct the sides close to the head with your fingers, then lift only the top sections that need height. If blow-drying, use controlled airflow and low or medium heat. Keep the nozzle away from your scalp, especially around the ears where the hair offers little buffer.
Once dry, rub a tiny amount of paste or cream between your palms until it is spread thinly. Touch the back and sides first, then use what remains to separate a few pieces at the front. This avoids depositing the largest blob at the most visible point. Stop before every strand becomes a spike unless that is your intended finish.
Build texture into a short crop
A cropped cut can look sharper with a clear direction: forward, diagonally across the forehead or slightly up at the front. Work with your hands while damp, then let it set. Fine hair may need only a little lightweight hold, whereas denser hair may benefit from a small amount of cream or paste for definition.
To create separation, pinch selected dry sections near their mid-lengths and ends rather than rubbing vigorously at the scalp. If the crop looks stringy, you may have used too much product or concentrated it into too few pieces. Comb it through gently or wash and restart if necessary. More product rarely makes an overloaded style look airier.
Lift a flat crown without puffing up the sides
Isolate the crown with your fingers or a few sectioning clips. Lift a small section away from the scalp as it dries, then let it cool in that position if you used warm air. Keep the side sections directed downward. You are creating contrast between areas rather than trying to make every root stand upright.
If your hair is fine, start with a light volumizing foam or another label-directed root product rather than a heavy wax. Apply selectively. Do not assume that a powder is harmless because it feels dry; follow its instructions and avoid inhaling loose particles. If your scalp becomes itchy, sore or flaky, stop the new product rather than trying to style through the reaction.
Give waves and curls room to keep their shape
On short textured hair, a wide-tooth comb or your fingers may be enough for detangling while conditioning. Apply a modest amount of styler while wet, then shape individual sections without stretching them flat. Let the perimeter settle before deciding it needs more volume. Short curls can occupy more space than their wet length suggests.
Air-dry or diffuse gently if you choose, keeping heat moderate and airflow controlled. Avoid repeatedly pulling the top upward to check its length as it dries. The curly-hair guide explains how to preserve curl groups and soften a product cast. Natural variation in curl size can make a short cut interesting rather than untidy.
Work around cowlicks instead of escalating heat
For an area that sticks up, first try resetting the roots with water and directing them gently across their usual position, then back toward the desired finish. Assess the result when dry. A small change in part placement may do more than repeated brush passes. Strong growth patterns may remain visible even with good technique.
If the same spot resists every day, ask about leaving it a little longer or cutting it in a way that makes the direction intentional at your next trim. Taking a cowlick shorter can sometimes make it more prominent rather than less. Avoid trimming a troublesome tuft impulsively while it is wet and pulled taut; you cannot judge the resting shape accurately that way.
Use accessories as part of the style
A narrow headband, a pair of smooth pins or a small clip can control a growing-out front section. Place the accessory where it has enough hair to grip without scraping the scalp. On very short sides, a heavy clip may slide because there simply is not enough length to support it. Choose a smaller, lighter option instead of clamping harder.
If the longer front is behaving like a fringe, use the directional techniques in our bangs guide. Keep bands comfortable and release anything that causes pulling or tenderness. The AAD's guidance on traction makes a simple point worth keeping: a painful hairstyle is too tight.
Keep the routine useful as the cut grows
Short hair changes outline as small amounts of length appear. A crop that once stood up may begin folding forward; a pixie's nape may start touching your collar. Reassess your silhouette rather than adding stronger hold automatically. You can redirect longer front pieces or change the part while deciding whether to trim or continue growing.
Keep a photograph of a result you liked and note what you actually did: damp roots, fingers, light paste on the ends, for example. That is more actionable than trying to reproduce an elaborate routine you will not repeat. For a longer short cut approaching jaw length, our bob guide offers options for the awkward in-between outline.
Your questions, answered
Can I style very short hair without heat?
Yes. Reset with water, arrange the direction using fingers or a comb and leave it to dry. Add a little finishing product only if needed. A very strong cowlick may still show, but avoiding heat does not prevent you from creating a deliberate shape.
Is wax or mousse better for short hair?
They do different jobs. Mousse can provide lightweight support before drying; wax often adds separation and control to dry hair. Formulas vary, so read the label. Begin with the product that addresses your main issue instead of stacking both by default.
Why does my short hair look greasy after styling?
You may be using too much product, a formula that is too rich for your strands or several products that accumulate. Reduce the amount and apply mainly to the areas needing control. Wash as your scalp requires rather than repeatedly adding powder over residue.
Sources & further reading
- American Academy of Dermatology: Tips for healthy hair
- American Academy of Dermatology: 10 hair-care habits that can damage your hair
- American Academy of Dermatology: Hairstyles that pull can lead to hair loss
Sources support the factual guidance they address; aesthetic suggestions are editorial judgment, not claims of product testing.